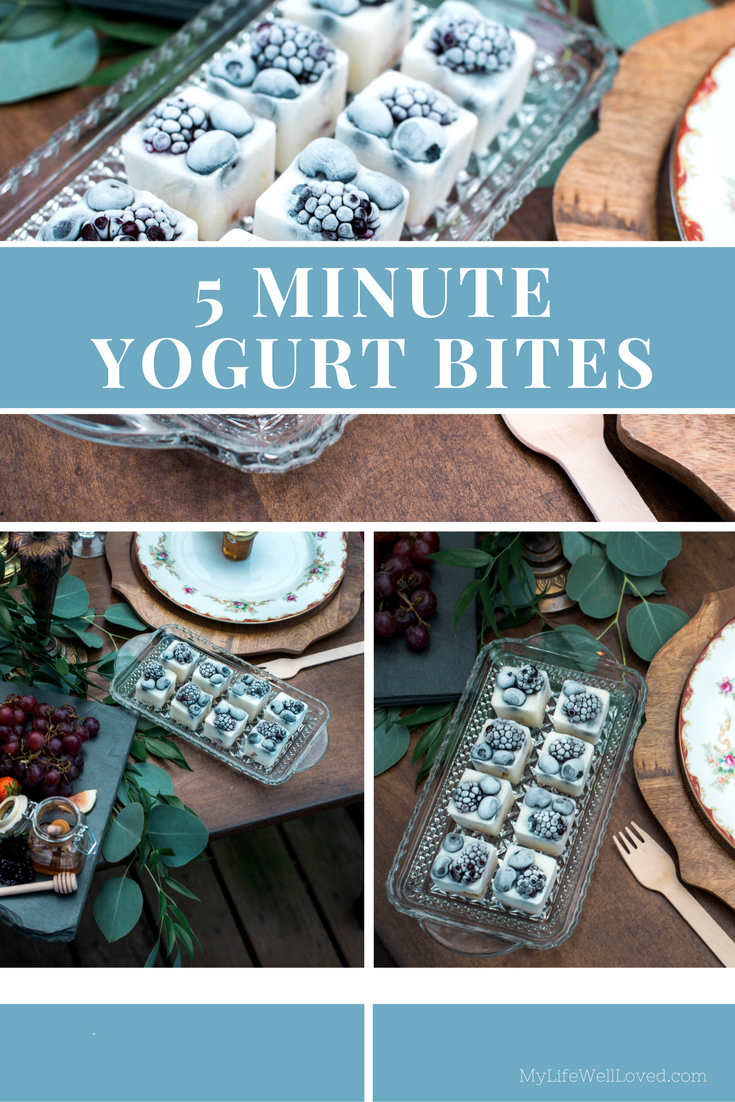
I’m excited to bring you a unique and EASY peasy party app or dessert recipe to have on hand for the upcoming holidays: 5 Minute Yogurt Bites. Not only are these simple, but they’re pretty too! And, the bonus? They’re easily customizable to your taste! I’ve invited my friend Ginger to share this recipe with you today so you can PIN IT and have the yogurt bites recipe at the ready for upcoming Christmas parties, Friendsgiving get togethers, and New Year’s parties.
Hi, y’all! My name is Ginger, and I’m usually blogging over on whatyourparentsdid.com about my parenting journey and random, creative projects! I’m so happy that today Heather asked me to share one of the most adorable, easy, and HEALTHY party treats I found this year. (And it’s one that doesn’t scare me away from my kitchen, as most things do.)
One thing about me — that some of you may or may not relate to — is that I LOVE hosting parties, but I do not possess the will, desire, talent, knowledge, time management or motherly-domestic-spirit to make a lot of homemade recipes. It’s a goal I am working through as part of parenthood, but I’m just not there yet. If you’re like me, this recipe or “food assembly” (as I really like to call it) can seriously take you MINUTES to create. I even had time to assemble these before my toddler completely destroyed the living room.
These yogurt bites are great with no added sugar to be healthy as an everyday snack, or they can be sweetened for a dinner party dessert.
The only tool you will need are some silicone ice trays. Mine are square cubes which I thought wouldn’t work well, but they actually did and created an even fancier look! I’ve also seen similar ideas like this use round silicon cupcake holders to create a tiny tart shape.
Yogurt Bites Recipe
STEP 1 – Crush up almonds + granola + flax seed or anything in that realm that you have on hand to create a healthy crust layer in your trays. Then add enough coconut oil to make it stick together. I used some granola I already had that was slightly sweetened and had sliced almonds, so I didn’t add anything else. You may want to add in some coconut sugar or honey depending on the sweetness level you desire.
STEP 2 – Fill the molds with the crust layer just about 1/3 to 1/4 of the way.
STEP 3 – Create your filling layer with plain, whole-milk yogurt or greek yogurt. I lightly sweetened mine with some honey, but mostly left it tart and healthy.
STEP 4 – Fill the molds with the filling layer over the halfway mark.
STEP 5 – Create your topping with your favorite fruit! I used blackberries and blueberries at the end of summer, and for the beginning of fall I’m going to try a layer of apple sauce + tiny diced apples instead. That might turn out good, right?
So there you have it! Pop them in the freezer and forget about them until you’re setting up for the party! We hosted a birthday breakfast for our 2 year old son this past Saturday, and this idea is perfect for something like that.
Depending on how hot it is, the time for thawing and the party table life are varied. We were still sweating in the 80s until mid-November here in Alabama, so you never know! Just as a guide, these did take about 15-30 minutes mid-summer to be thawed enough to not be chewing on ice cubes, and they also lasted a full hour or two before melting enough to lose their shape (even outdoors in the Alabama heat!)
So what topping combination ideas do you have? I would also love to know if you would prefer the healthy, low-sugar version or if anyone may sweeten them up with some chocolate chips on top. I hope you guys enjoy trying out this fun idea!
Photos: Brittny Rene Photo
Ginger Swan Lindsey is a teaching artist and mom-creative from Birmingham, AL who is passionate about storytelling, coffee drinking, and ridiculous dancing at wedding receptions.


1 Comment